Why Do My Child’s Fingers Stick Up While Playing Piano?
Quick answer: a beginner’s unused fingers may lift or “stick up” because finger coordination is still developing, the music feels difficult, or the child is holding extra tension while trying to control one finger at a time. An occasional raised finger is not automatically a bad habit. Watch whether the hand can return to a comfortable shape, the sound stays controlled, and the child can play without pain. Use one short, easy pattern and let the teacher guide the exact technique.
Parents often notice this most clearly in a photo or video: one finger plays while another seems to hover far above the keys. The hand may look busy even when the music is simple. That can be a useful observation, but it is not a reason to push the fingers down or repeat a long strengthening exercise. A young beginner is learning how to move one finger while the others stay available for what comes next.
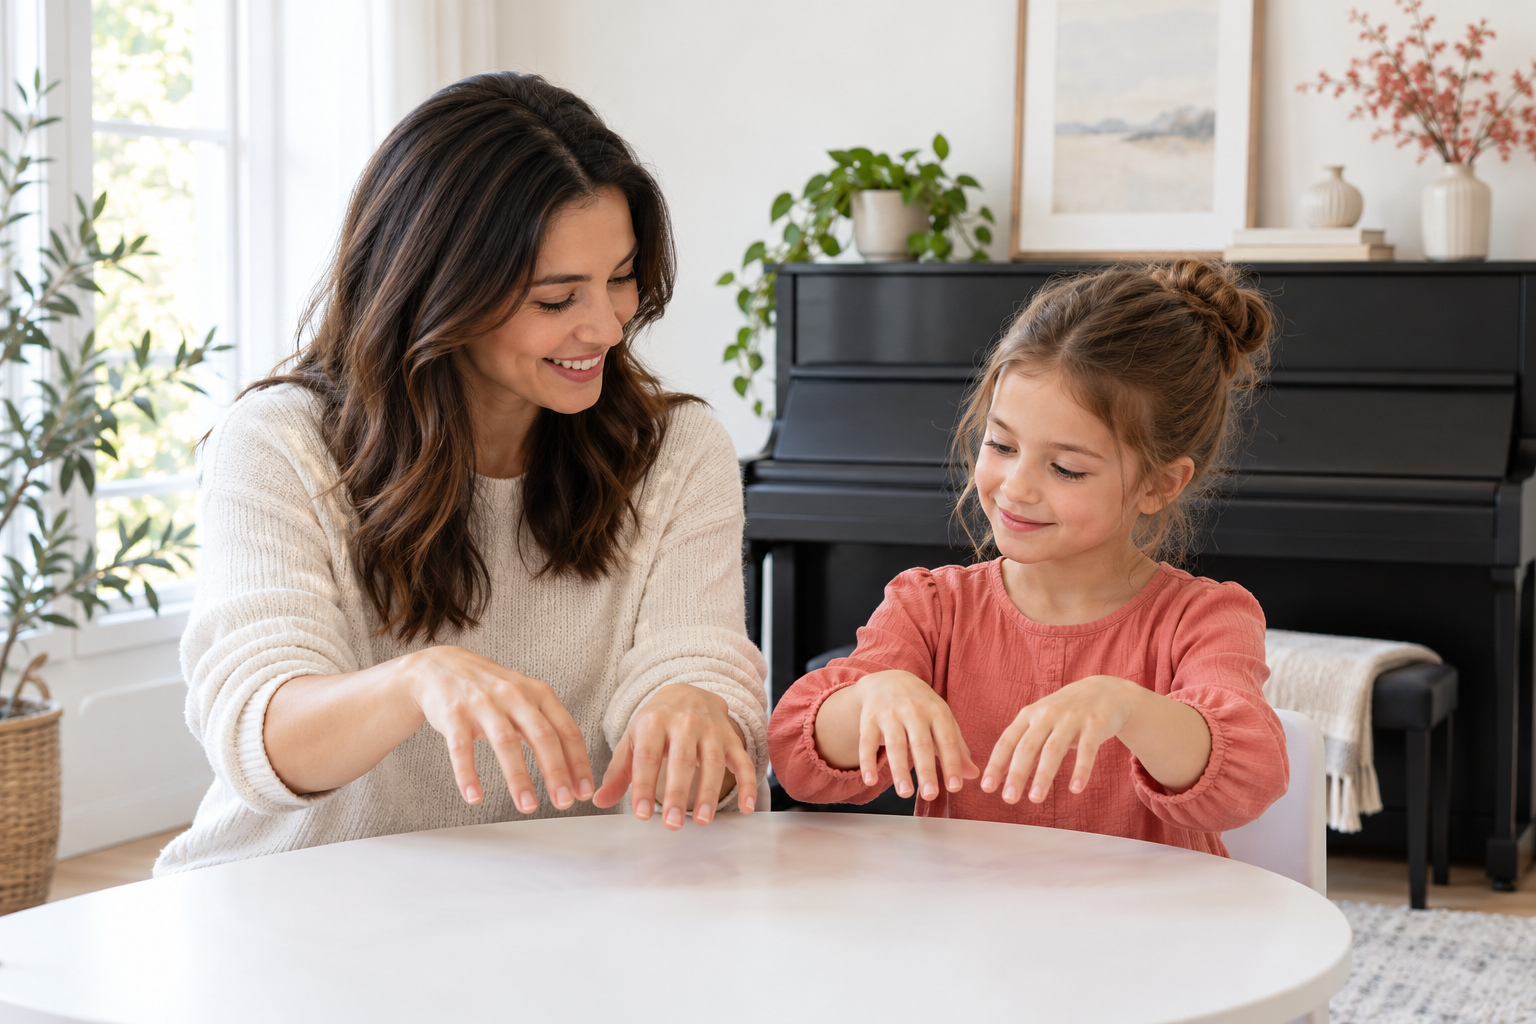
Is it normal for a beginner’s fingers to stick up?
Yes, some extra finger movement is common while a child is learning. Moving one finger without moving its neighbors is a coordination skill, not something every beginner can do neatly on the first day. The fourth and fifth fingers may be especially noticeable because the child is still discovering how the hand works as a group.
The goal is not a frozen hand with every unused finger pressed against a key. Fingers need to prepare, play, release, and sometimes move to a new position. What matters is whether the movement helps the music or adds effort that makes playing harder.
A raised finger is usually less concerning when it appears briefly, the wrist and shoulders stay comfortable, the child can still make a clear sound, and the hand settles again during an easy passage. It deserves a closer look when several fingers remain rigidly lifted, the hand shakes, notes sound forced or uneven, or the child complains of discomfort.
Why do unused fingers lift while a child plays piano?
The hand is learning separate finger jobs
A beginner may understand which note to play but still use the whole hand to help one finger move. One finger goes down and another rises. With clear, appropriately sized tasks, the movement often becomes smaller and more organized over time.
The child is preparing too early
A child may lift the next finger long before its note arrives because they are trying hard not to miss it. That preparation can feel safe, especially when the fingering is new. The useful question is whether the child can wait closer to the moment of playing without becoming tense or losing the beat.
The music is using all of the child’s attention
Reading notes, remembering finger numbers, counting, listening, and coordinating two hands can crowd a beginner’s attention. An easy song may produce a calm hand while a new passage makes fingers fly upward. That contrast suggests that the task should become smaller before anyone adds another correction.
The hand or body is bracing
Raised fingers can appear with a stiff wrist, lifted shoulders, locked elbows, or keys pressed harder than the music needs. Check the whole setup rather than focusing only on one finger. A comfortable bench height and supported feet can make small hand movements easier to organize.
The fingering may be uncertain
If the child changes fingers every time, several fingers may hover while the hand searches for a choice. Use the fingering the teacher assigned and reduce the passage to two or three notes. The iPianoLab guide to consistent beginner fingering explains how parents can support the plan without calling out every finger number.
What should parents watch and listen for?
Do not diagnose the hand from one paused image. Watch a short, easy section and compare it with the exact place where the fingers begin to lift. The pattern gives the teacher more useful information than a general reminder to “relax.”
| What you notice | What it may suggest | Useful next step |
|---|---|---|
| One finger lifts briefly before its note | Early preparation for a new movement | Try the same two or three notes more slowly |
| Several fingers stay high and stiff | The task may be creating extra effort | Pause, shake out the hands gently, and use an easier pattern |
| Fingers lift only when both hands play | Coordination demand may be the main challenge | Practice each assigned hand job separately, then reconnect a tiny section |
| The sound becomes hard or uneven | The child may be striking from above or bracing | Return to one comfortable note and listen for a clear, controlled sound |
| The child reports pain, tingling, or numbness | This is not a home-practice puzzle | Stop and seek appropriate qualified guidance |
Listen as carefully as you look. If the notes are clear, the rhythm remains steady, and the child feels comfortable, the visual movement may be less urgent than it appears. If raised fingers arrive with uneven notes or a hard, forced sound, save that exact musical example for the teacher.
A five-minute rest–tap–return reset
Use this as a short awareness routine, not as a new technique curriculum. Keep the teacher’s notes and fingering. Stop while the movement still feels easy.
- Rest for one minute. Place both hands comfortably on a table. Let every finger touch or hover naturally. Do not force a perfect curve.
- Tap one finger for one minute. Choose the finger used at the start of the assigned pattern. Tap it gently two or three times. Let neighboring fingers move a little if they need to.
- Compare for one minute. Try one tap with extra lifting, then one smaller, easier tap. Ask, “Which one felt calmer?” The child does not have to make every finger motionless.
- Return to two notes for one minute. At the piano or keyboard, use two assigned notes and the teacher’s fingering. Begin with fingers near the surface and listen for two clear sounds.
- Reconnect for one minute. Put those notes back into one tiny phrase. Play once, notice one improvement, and finish with a familiar part the child enjoys.
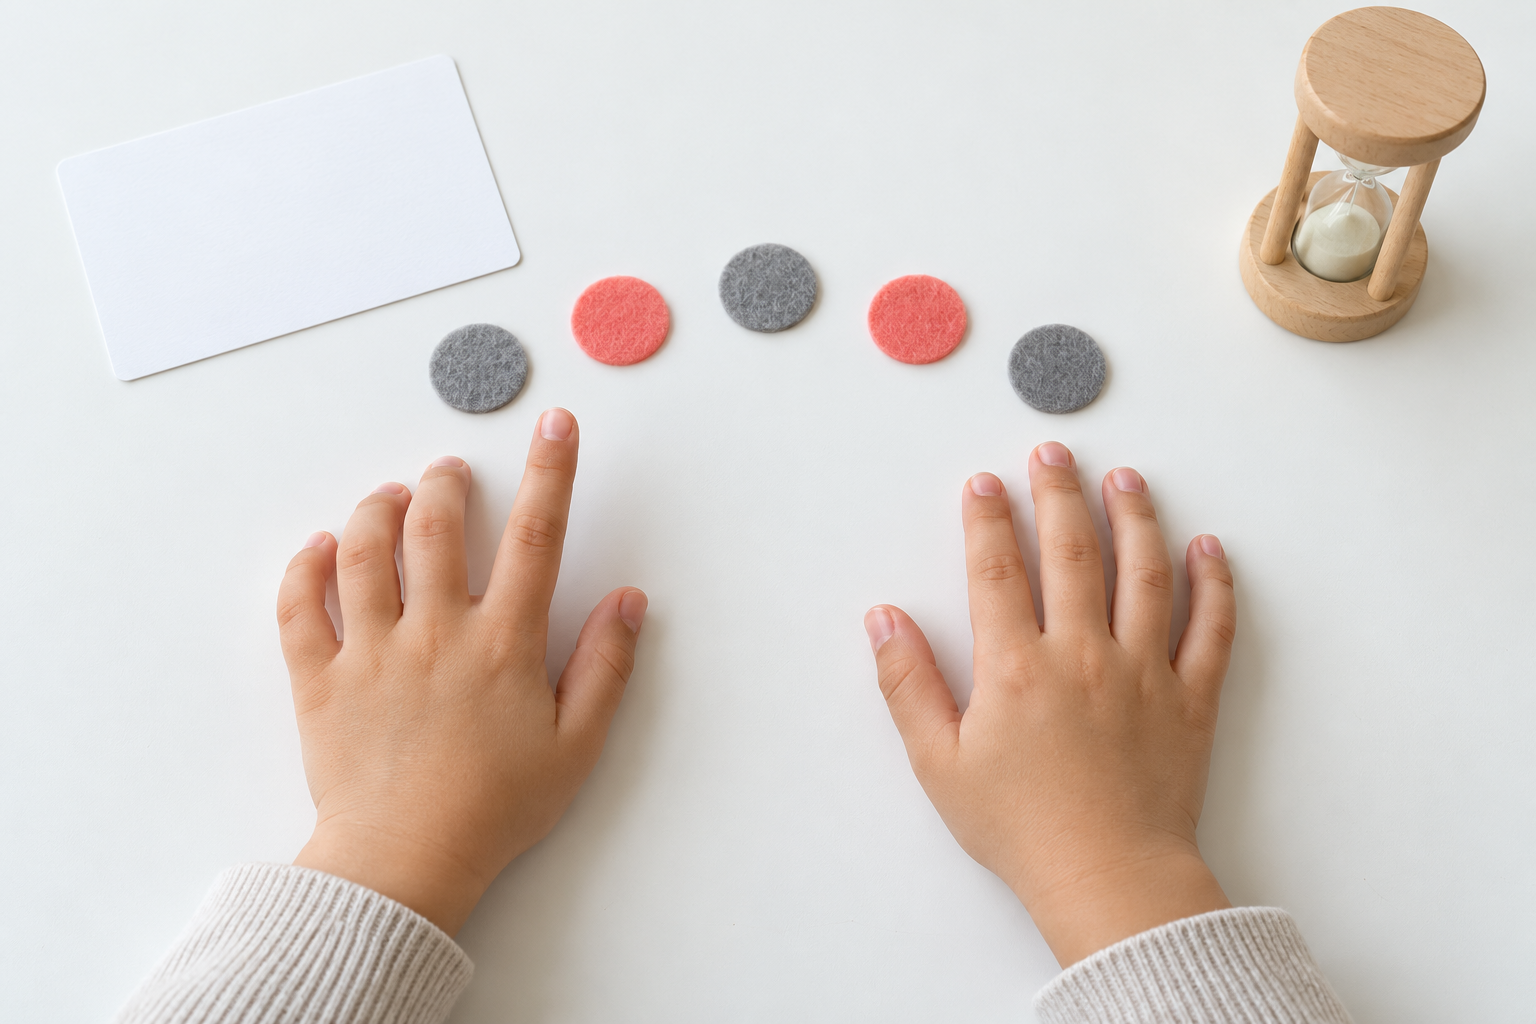
This routine is deliberately short. Repeating a tense movement for a long time can make the child more tired and less able to listen. Yamaha’s music-education guidance on healthy setup and even piano movement also emphasizes that posture, hand shape, sound, and coordinated movement belong together rather than being treated as one isolated finger problem.
What should parents avoid?
- Do not hold unused fingers down. The child needs to create and release the movement independently.
- Do not push, bend, or stretch a finger into position. If the shape is unclear, ask the teacher to demonstrate it.
- Do not repeat “keep your fingers down” through the whole song. One cue before a tiny section is easier to use than constant correction.
- Do not add long finger-strength drills on your own. The visible issue may involve coordination, setup, fingering, or task difficulty rather than strength.
- Do not compare a child’s hand with an adult hand. Hand size, flexibility, experience, and the music all affect what the movement looks like.
- Do not practice through pain. Pain, tingling, numbness, or persistent discomfort calls for stopping and getting appropriate guidance.
Parents can be most helpful by describing the pattern: “The fourth finger lifts during these three notes,” or “The hand looks calm alone but stiff with both hands.” That gives the teacher a specific starting point without asking the parent to become the piano technician.
When should the piano teacher take the lead?
Ask the teacher when the same fingers remain rigidly lifted across several careful practice sessions, the movement affects the rhythm or sound, the child cannot use the marked fingering comfortably, or the hand becomes tense as soon as a certain passage begins. Bring the smallest example that shows the pattern.
A short video can help if the teacher allows it, but avoid coaching the child through many takes. One normal attempt is more useful than a performance created for the camera. The teacher can then decide whether the next step involves fingering, hand position, a smaller musical task, a different cue, or simply more time.
If your child is beginning piano and needs a structured path that connects songs with keyboard geography, rhythm, counting, note reading, and coordination, explore iPianoLab online learning. Families ready to choose a program can also create an iPianoLab account and find the next step that fits their child.
Frequently asked questions
Should unused fingers stay on the piano keys?
Not as a rigid rule. Fingers may rest near the keys, prepare for a note, release, or move with the hand. The useful goal is efficient, comfortable movement that supports the music. Follow the teacher’s cue for the specific passage.
Does a raised pinky mean my child has bad piano technique?
No. A raised pinky can appear while coordination is developing or when another finger is working. Watch whether it stays rigid, creates tension, or interferes with the sound. One raised finger in one moment is not a complete technique diagnosis.
Should children practice lifting each finger separately?
A teacher may assign a short awareness or coordination exercise, but parents should not add forceful or lengthy finger-lifting drills on their own. A gentle tabletop tap and a tiny musical pattern are enough for the home reset in this guide.
What if the fingers lift only in a difficult song?
That usually points to the size or complexity of the task. Reduce the passage to two or three notes, keep the assigned fingering, and return to the full phrase only after the smaller movement feels clear. Tell the teacher which spot changes the hand.
Can bench height make fingers stick up?
Setup can contribute to whole-body effort. A bench that is too low, too high, too close, or too far away may lead a child to brace through the shoulders, arms, wrists, or hands. Check elbow height, relaxed shoulders, distance, and supported feet before focusing on the fingers alone.
When should a child stop practicing?
Stop when the child reports pain, tingling, numbness, or unusual discomfort, or when the hand becomes increasingly rigid despite an easier task. Save the example and seek appropriate qualified guidance rather than trying to practice through it.