Why Does My Child Play Piano With Flat Fingers?
Quick answer: flat fingers are common in young beginner pianists. Your child may be reaching for notes, pressing with more effort than the movement needs, copying the shape they use for typing or drawing, or simply learning how to support the hand. The goal is not a rigid “perfect curve.” It is a comfortable, adaptable hand that can move without pain or unnecessary tension. A short ball-and-tap reset can help your child feel a natural shape without turning practice into a posture test.
Parents often notice the fingertips flatten or the small joints bend backward and worry that a bad habit is becoming permanent. One practice session cannot answer that question. Watch when the shape changes: during an easy song, only on certain fingers, when both hands play, or when the child reaches for a larger interval. That pattern gives the teacher something useful to work with.
Why do children play piano with flat fingers?
There is rarely one cause. A beginner may use a flatter shape because it makes another part of the task feel easier.
They are reaching for the next note
When a note feels far away, a child may stretch the whole hand and let the fingers flatten. This is especially common when the music asks for a new hand position or a wider space. The useful fix may be moving the whole hand sooner—not repeatedly telling one finger to curve.
They are concentrating on notes or rhythm
A child who is reading, counting, remembering finger numbers, and listening at the same time may temporarily lose a comfortable hand shape. If familiar music looks easier than a new song, the flat fingers may be a sign that the task is using all of the child’s attention.
The bench or keyboard setup may be making the movement harder
A seat that is too low, too far away, or unstable can make the child reach forward or drop the wrists. Before correcting fingers, check that the child can sit comfortably, place both feet securely, and reach the keys without lifting the shoulders. Ask the teacher about the right bench height for the instrument your child uses.
Some fingers need more time to coordinate
The ring finger and little finger often feel less independent to beginners. A fingertip may collapse when the child tries to make a clear sound with a finger that is not yet easy to control. Keep the task small and let the teacher decide which physical cue is appropriate.
The shape may be a musical choice
Pianists do not hold one fixed hand shape for every sound. The fingers and hand change with the music, the distance between notes, and the kind of touch needed. Even teacher guidance on scale playing distinguishes a comfortable curve from fingers that are forced into a rigid claw. The aim is useful movement, not a pose that looks perfect in a photo.
For a clear introduction to natural hand shape and collapsing fingertip joints, see Baylor Piano Basics on hand position. Use it as background, not as a reason to diagnose or physically reshape your child’s hand at home.
What should parents watch for?
Try this observation checklist during one easy song:
- Start with comfort. Does your child report pain, tingling, numbness, or unusual fatigue? If so, stop and tell the teacher.
- Compare easy and hard music. Do the fingers flatten only when the notes, rhythm, or hand coordination become difficult?
- Watch the whole arm. Are the shoulders lifted, elbows locked, or wrists dropped as well?
- Notice one finger or every finger. A single fingertip that bends backward gives the teacher a different clue from a whole hand that reaches and stiffens.
- Listen to the sound. Can your child make a clear, gentle note without pressing harder and harder?
Do not watch every note for an entire practice session. Choose one familiar phrase, observe it once, and move on. Your child should still feel that practice is about making music.
A five-minute hand-shape reset
This routine helps a child notice a loose, supported shape. It is not a replacement for individual technique instruction.
- Hang and release for one minute. Let both arms rest at the sides. Notice the easy shape of the fingers without squeezing them into a curve.
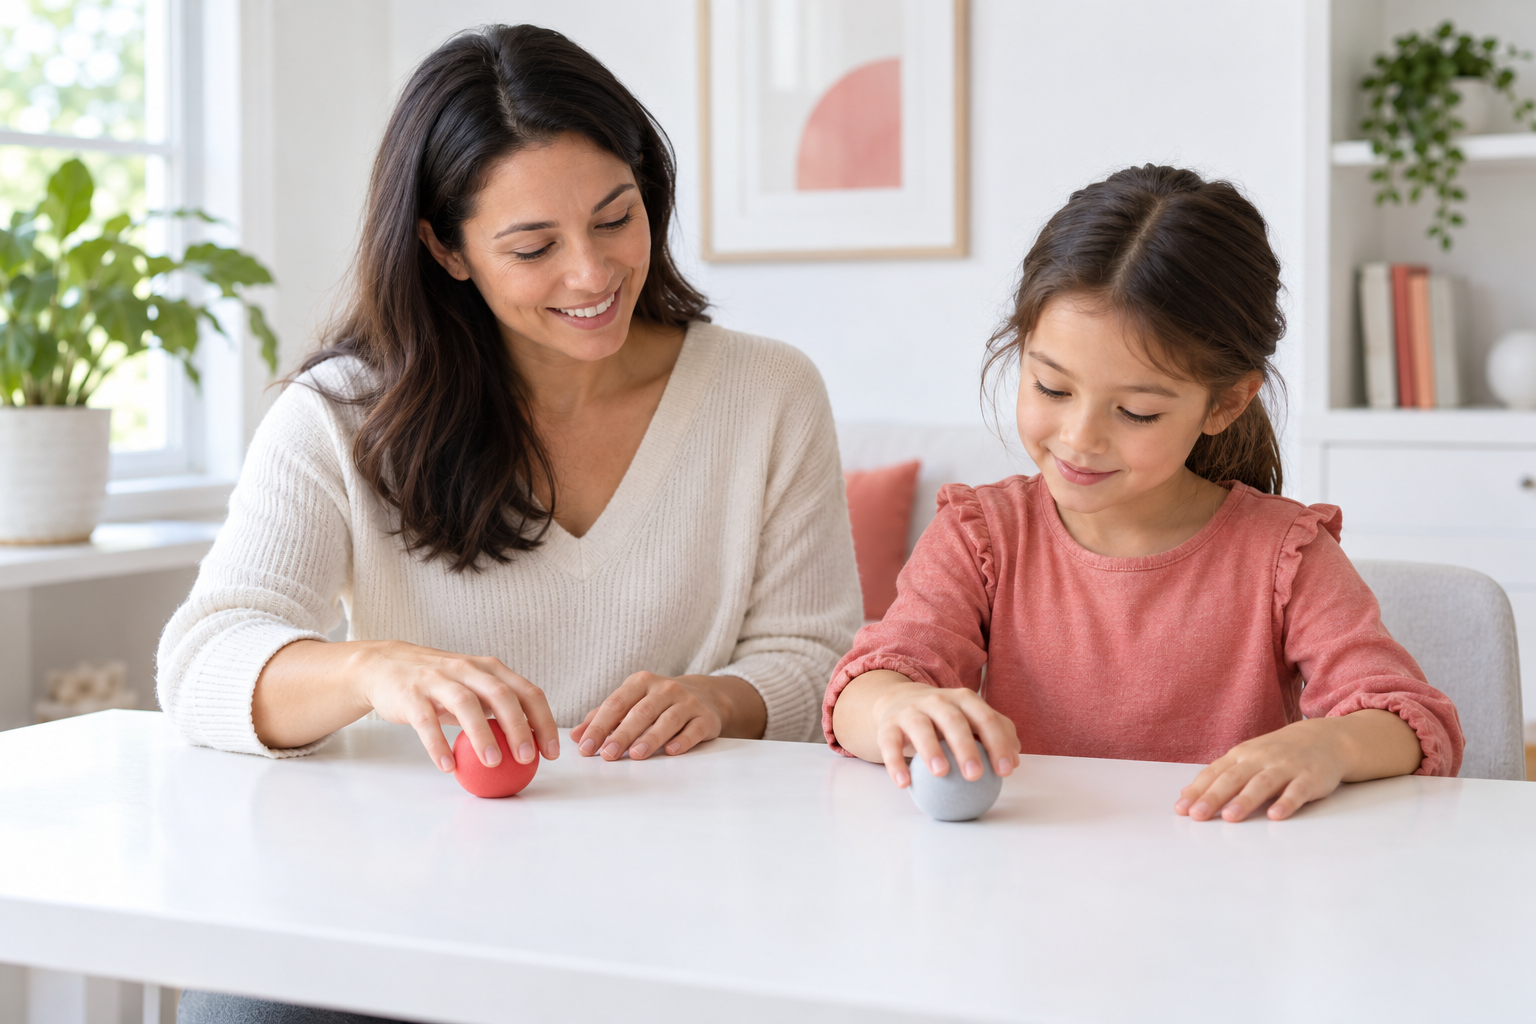
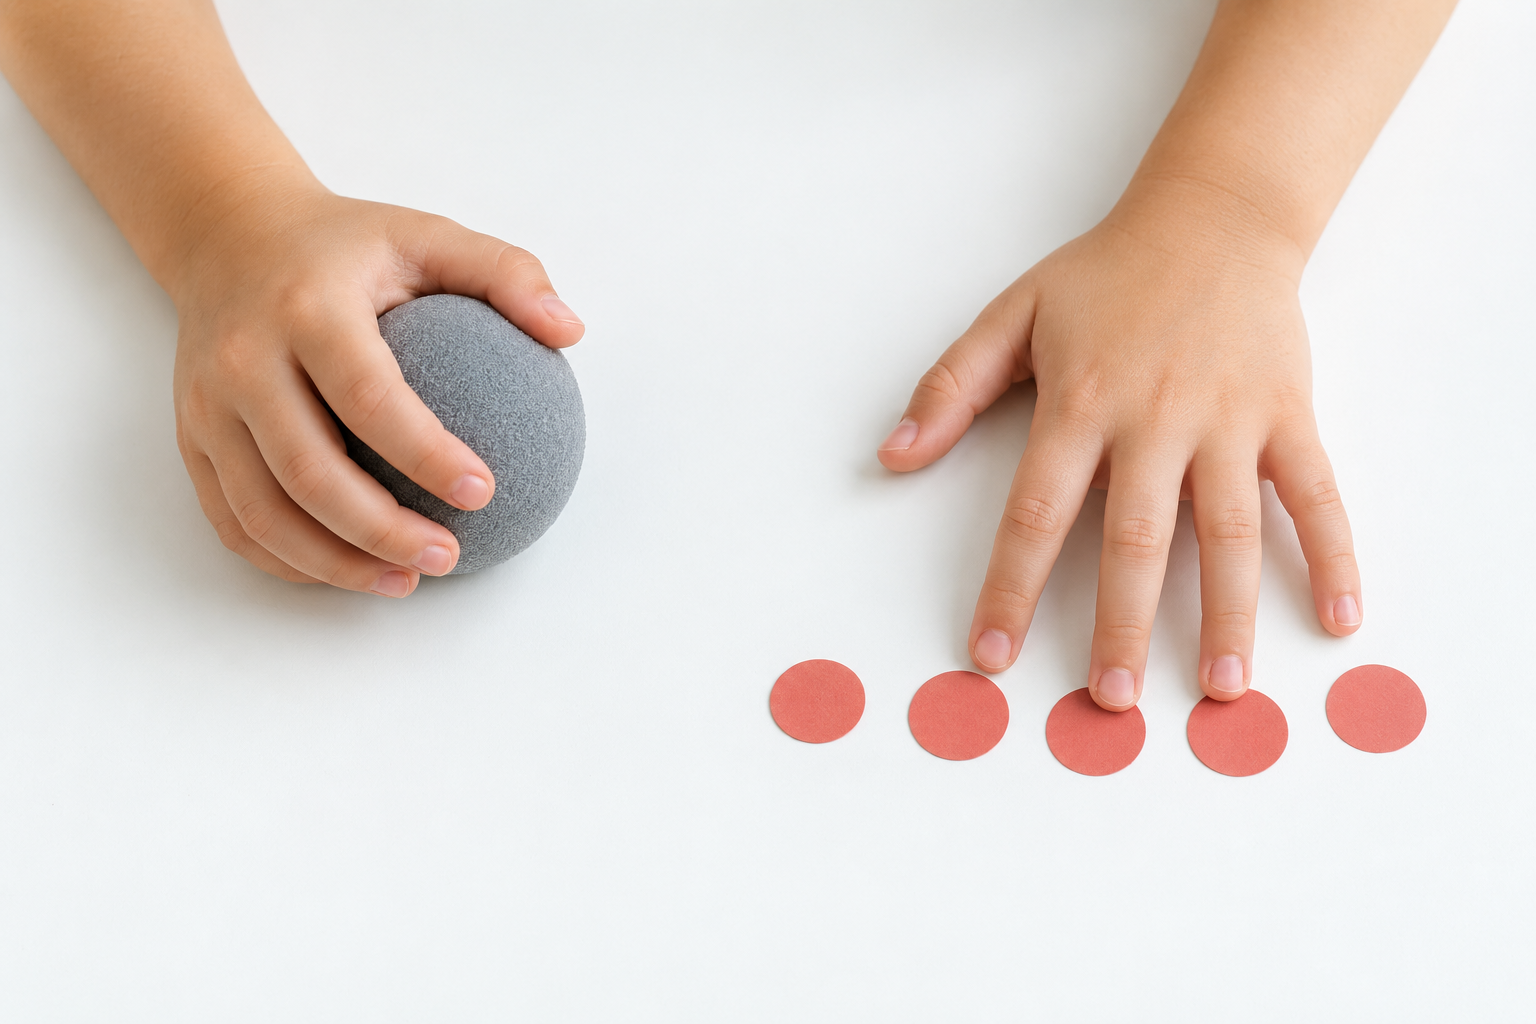
- Find a gentle dome for one minute. Place one hand over a small soft ball or rolled-up sock. The fingers should rest, not grip. Remove the object and keep only the comfortable feeling.
- Tap five spots for one minute. Put five blank markers on a table. Touch them slowly with the fingertips, one at a time. Keep the wrist easy and the movement quiet.
- Try one key for one minute. At the piano or keyboard, play one comfortable key with each finger. Do not stretch. Listen for a clear sound and let the finger release after each note.
- Return to three notes for one minute. Choose a tiny pattern from an easy song. Play it once with the relaxed feeling, then finish before the hand becomes tired or rigid.
If the hand immediately flattens again, that is useful information—not a failed exercise. The song may require a different movement, the setup may need adjustment, or the child may need the teacher’s cue rather than another repetition.
What should parents avoid?
- Do not push or bend the fingers into position. The child should create the movement comfortably.
- Do not use a rigid “hold this shape” drill for the whole song. A fixed hand can create more tension than a temporary flat finger.
- Do not correct every note. One cue before a short phrase is easier to understand than constant interruption.
- Do not compare your child’s hand with an adult hand. Size, flexibility, coordination, and the musical task all matter.
- Do not practice through pain. Stop and bring the concern to the teacher or an appropriate health professional.
If your child reaches because the hand feels small, read the iPianoLab guide to piano lessons for children with small hands. If one finger is doing nearly all the work, see why beginners sometimes play a song with one finger. A child who uses too much force may benefit from the separate touch-control guide for hard key presses.
When should you ask the piano teacher?
Ask the teacher when the same fingertip repeatedly collapses, the hand looks stiff in both easy and difficult music, the child cannot make a clear sound comfortably, or the child reports pain or fatigue. Describe what happens and when:
“The third and fourth fingers flatten when the left hand joins, but the right-hand melody looks comfortable. What cue should we use at home?”
A specific observation helps the teacher check seating, reach, fingering, song difficulty, wrist movement, and whether a different exercise would be more useful. If possible, ask the teacher to give your child one short phrase to remember. Parents do not need to invent a new technique lesson between classes.
Frequently asked questions
Are flat fingers always bad at the piano?
No. Piano technique uses changing hand shapes, and a flatter finger can be part of a useful movement. The concern is not how one frozen moment looks. Watch for repeated collapse, stiffness, loss of control, or discomfort, and ask the teacher how the movement fits the music.
Should piano fingers always be curved?
A gentle natural curve is a helpful starting image for many beginners, but “always” is too rigid. Fingers lengthen, shorten, open, and adjust as the hand moves. A comfortable, responsive hand matters more than forcing every finger into the same arch.
Can a child strengthen collapsing fingers at home?
A short, gentle tabletop or soft-ball exercise can build awareness, but avoid resistance gadgets or long drills unless the teacher recommends them. Coordination often improves gradually as the child learns smaller, clearer movements.
Why do my child’s fingers flatten only when playing with both hands?
Two-hand playing adds reading, timing, and coordination demands. The child may stiffen or reach because attention is divided. Try each hand alone on a very small section, then ask the teacher how to reconnect them. The iPianoLab two-hand coordination guide offers a simple parent-friendly sequence.
What if my child’s wrist drops below the keys?
Check the bench height and distance before giving repeated finger reminders. If the wrist still drops or the child feels discomfort, stop and ask the teacher to observe the setup and movement.
How long should we work on hand shape?
Use one or two minutes inside a normal practice session, then return to music. Frequent brief reminders are usually easier for a child to absorb than a long posture drill.
A calm next step
Your child does not need picture-perfect piano hands today. Look for comfort, listen for a clear sound, try one short off-keyboard reset, and share the pattern with the teacher. A useful hand shape grows through many small musical movements—not one forced position.