Why Does My Child Keep a Stiff Wrist While Playing Piano?
A stiff wrist is common when a beginner is concentrating, reaching, pressing harder than necessary, or trying to hold the hand in a “perfect” shape. The goal is not a floppy wrist or one fixed height. It is a comfortable, adaptable connection from the forearm through the hand so the child can move without pain.
Parents can help by checking the setup, reducing the musical task, and using a short drop–shake–return reset. Avoid pushing, pulling, or stretching the wrist into position. If your child reports pain, numbness, tingling, swelling, weakness, or trouble using the hand normally, stop the activity and seek appropriate medical guidance instead of practicing through it.
Is a stiff wrist normal for a beginner pianist?
Brief stiffness can be a normal beginner response to a difficult task. A child may freeze the wrist while finding notes, coordinating two hands, remembering finger numbers, or trying not to make a mistake. That does not automatically mean an injury or a permanent technique problem.
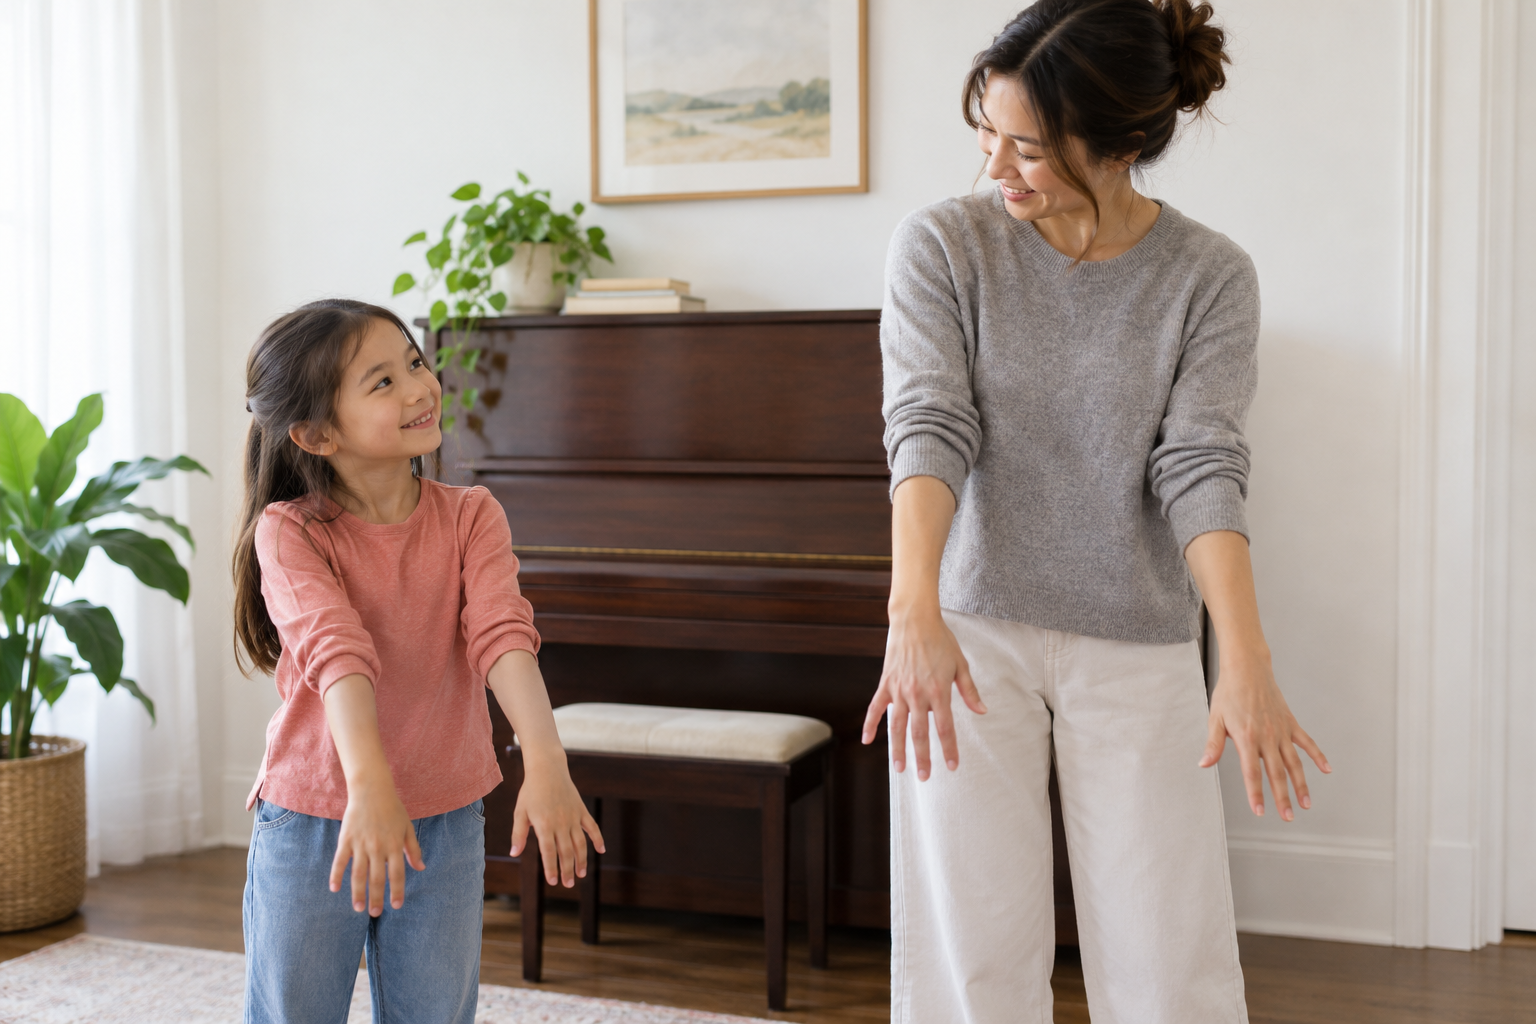
What matters is whether the child can release the extra effort when the task becomes easier. Ask them to stop, let the arms hang, gently shake the hands, and return to one familiar note or a very short phrase. If the wrist looks more comfortable during the easier version, the stiffness was probably tied to task difficulty, setup, or concentration. Show the teacher the exact passage so the movement can be coached in context.
A relaxed wrist is not motionless. It may move slightly up, down, or side to side as the hand travels. It also should not collapse far below the hand or stay lifted like a rigid shelf. Yamaha’s piano-pedagogy guidance describes the wrist as flexible and supple rather than locked into one pose.
Why does a child’s wrist get stiff at the piano?
Several causes can look similar from across the room. Before correcting the wrist itself, watch what happens immediately before it tightens.
| What you notice | Possible reason | Useful first check |
|---|---|---|
| The wrist stiffens only in one difficult measure | The musical task is using all of the child’s attention | Practice one or two beats slowly instead of the whole song |
| The wrist is low and the elbows sit below the keys | The bench may be too low or too far away | Recheck bench height, distance, and foot support |
| The child grips whenever the music gets louder | They may be using force instead of a controlled movement | Return to a comfortable sound and compare light, clear, and strong |
| The wrist twists while reaching for a distant note | The hand may be stretching instead of moving as a unit | Ask the teacher to show how the arm and hand travel together |
| Both wrists stay rigid from the first note | The child may be bracing from concentration or too many reminders | Use one simple cue and an easier musical target |
| Stiffness comes with pain, tingling, swelling, or weakness | This is no longer just a practice-quality question | Stop playing and seek appropriate medical guidance |
Small hands do not need to be forced into an adult span. If your child is stretching for intervals or chords, the teacher may change the fingering, simplify a note, roll a chord, or choose a better-sized musical task. The separate iPianoLab guide to piano lessons for children with small hands explains why reach should not be treated as a test of effort.
What should a parent look for?
Look at the whole movement, not just the wrist angle. A comfortable beginner usually has supported feet, a balanced seat, free shoulders, elbows that can move, and hands that can release after a note. The wrist connects those parts; it cannot solve a bench or shoulder problem by itself.
Use these observations:
- Before playing: can the child let both arms hang comfortably at the sides?
- At the instrument: do the forearms approach the keyboard without a large bend up or down?
- During an easy phrase: can the wrist make small natural adjustments instead of staying frozen?
- After a note: can the child release excess pressure rather than continuing to squeeze?
- During a mistake: does the entire body brace, or can the child pause and try a smaller piece?
Avoid testing flexibility by moving your child’s hand for them. Ask what they feel and let the teacher observe the motion. A short video of the exact musical spot can help the teacher distinguish a setup issue from a fingering, reach, or coordination problem.
A five-minute drop–shake–return routine
This routine is a way to compare tension levels, not a medical stretch and not a replacement for the teacher’s technique instruction. Use it only when the child is comfortable and pain-free.
- Step away for 20 seconds. Let both arms hang naturally at the sides.
- Shake gently. Make a small, loose hand shake as if flicking off a few drops of water. Stop if it feels uncomfortable.
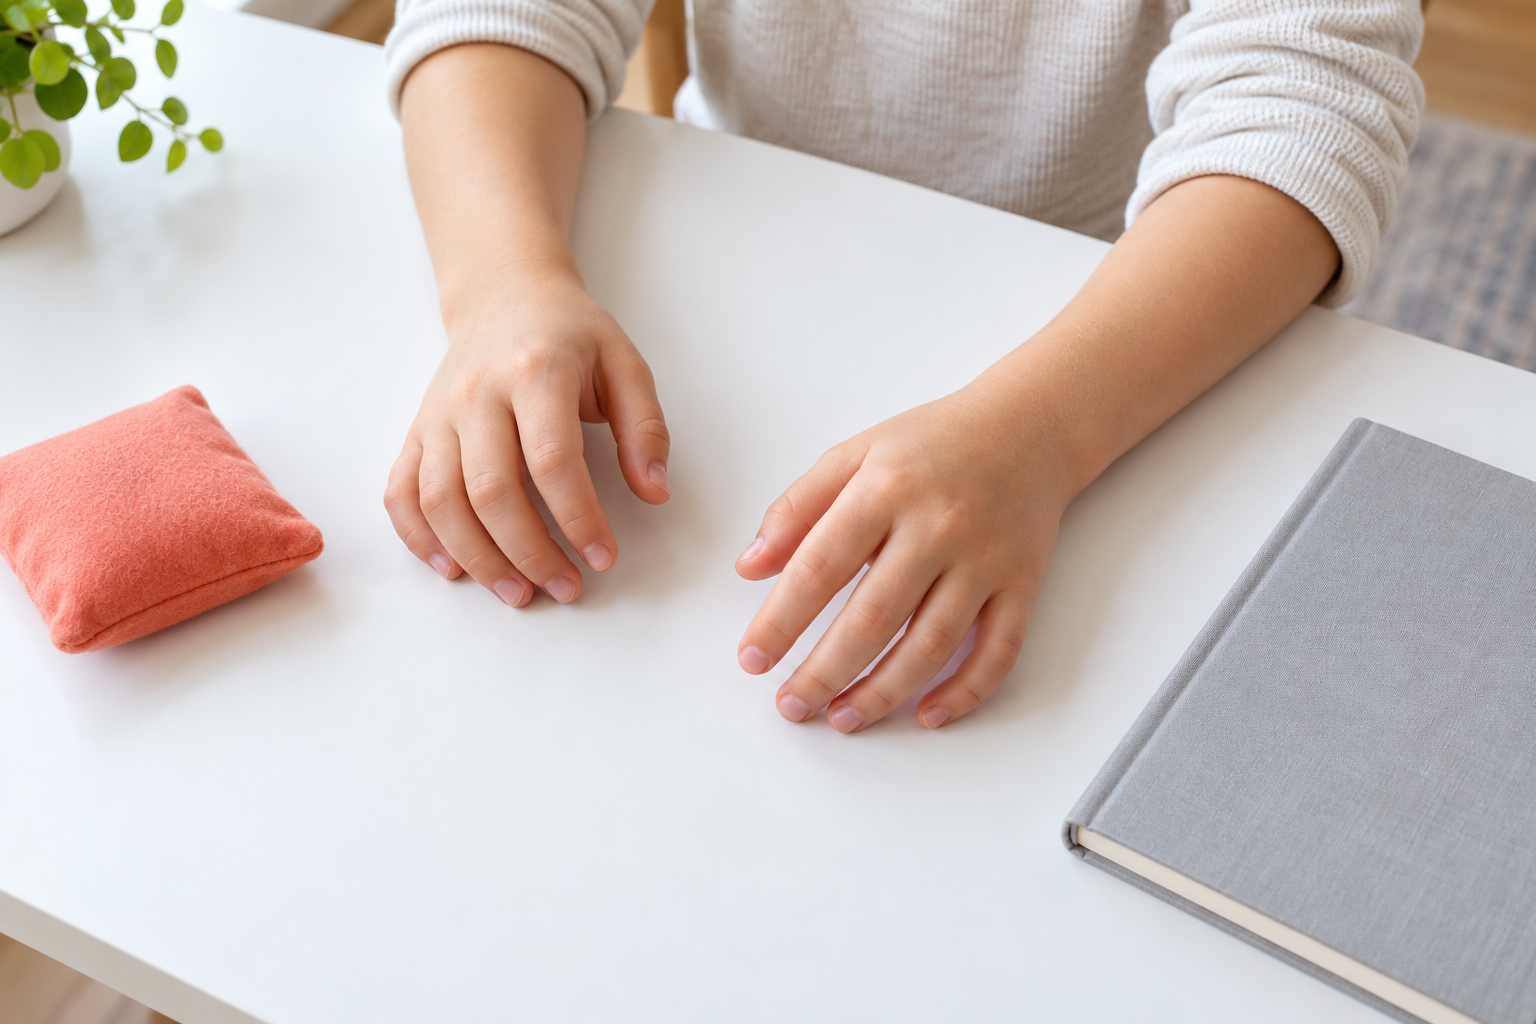
- Notice the neutral feeling. Rest the forearms on a table or lap with the hands quiet and fingers naturally curved. Do not force a shape.
- Return to one easy sound. At the instrument, play one familiar note or a two-note pattern with a comfortable volume.
- Add only one small phrase. Play one or two beats from the assigned music, then pause before stiffness returns.
Ask one question: “Did that feel easier, the same, or tighter?” The answer is more useful than telling the child to “relax,” which can be hard to translate into movement. If the easy sound is comfortable but the assigned passage is not, mark the spot for the teacher rather than repeating it with more force.
How do bench height and distance affect the wrist?
A child sitting too low may lift the hands and bend the wrists to reach the keys. A child sitting too high may drop the wrists or lean through the arms. Sitting too far away can encourage reaching; sitting too close can trap the elbows beside the body.
Check three things before giving a technique cue:
- The elbows are roughly level with or slightly above the key surface.
- The shoulders can stay down without the child slumping.
- The feet rest on the floor or a stable support so the child does not brace through the arms.
Use the full piano bench-height guide for children for a 60-second setup check. If the setup is stable but the shoulders still rise, compare the separate guide to shoulder tension during beginner piano practice.
What should parents avoid?
- Do not push the wrist up or down. Position imposed from outside does not teach the child how the movement feels.
- Do not stack corrections. “Curve, lift, sit tall, relax, count, and slow down” is too much for one attempt.
- Do not turn practice into a strength test. More force is not the solution to every missed or quiet note.
- Do not insist on one frozen hand shape. Real playing requires small adjustments as the hand travels.
- Do not practice through pain. Pain changes the task from a technique question to a health and safety concern.
If the child is pressing every key forcefully, try the listening checks in Why Does My Child Press Piano Keys Too Hard?. If the concern is finger shape, read what flat fingers can mean for a beginner without forcing a rigid curve.
When should a child stop playing because of wrist symptoms?
Stiffness and pain are not the same. A child may look guarded while learning a new movement and still feel comfortable. But pain should not be treated as proof that practice is working.
Stop the playing activity if your child reports pain or if you notice numbness, tingling, swelling, weakness, loss of normal movement, or difficulty using the hand. The American Academy of Pediatrics advises children not to play or exercise through pain and to take breaks during repetitive activity. Its symptom guidance recommends prompt care when a child cannot use the arm or hand normally, cannot move the wrist normally, has a swollen joint, weakness, lasting numbness, or severe pain.
A piano teacher can help with setup, repertoire, fingering, and movement, but should not diagnose a medical problem. Contact your child’s pediatrician or another qualified healthcare professional when symptoms are persistent, worsening, severe, unexplained, or affecting normal activities.
What should you ask the piano teacher?
Bring a specific observation instead of saying only that the wrist looks wrong. Useful questions include:
- Does the bench height and distance fit my child?
- Is the wrist stiff because of this fingering or reach?
- Can the passage be reduced to one or two beats?
- Should the hand move to the next position instead of stretching?
- What one cue should we use at home?
- What should feel comfortable when the child plays this phrase?
The teacher may demonstrate a motion that looks different from a generic “straight wrist” rule. That is why the exact music, tempo, instrument, and child matter more than a still photo of an ideal hand.
Build comfortable technique through small musical wins
iPianoLab helps beginners connect songs they enjoy with keyboard geography, rhythm, note reading, listening, and two-hand coordination—one manageable layer at a time.
Explore iPianoLab online learning for a flexible home option, or find an iPianoLab beginner path for your child.
Frequently asked questions
Should a child’s wrist be completely straight at the piano?
No single frozen angle fits every note and movement. The wrist should generally continue the line of the forearm without a large rigid bend, while staying free to make small adjustments. Ask the teacher to demonstrate the movement in the child’s assigned music.
Why does my child’s wrist drop below the piano keys?
The bench may be too low, the child may be reaching from the fingers, or the hand may collapse during a difficult spot. Check the whole setup first, then practice one easy sound and show the specific passage to the teacher.
Why does my child hold the wrist too high?
A high, rigid wrist can appear when a child tries to keep curved fingers, avoids touching nearby keys, or sits too low. Do not press the wrist down. Simplify the task and ask the teacher for one movement cue.
Can small hands cause wrist tension at the piano?
Small hands can lead a child to stretch, twist, or grip when the music asks for a span that does not fit comfortably. A teacher can adjust fingering, redistribute notes, or choose age-appropriate music. The child should not be asked to force an adult-sized reach.
Should children stretch their wrists before piano practice?
Gentle normal movement can help a child notice and release bracing, but aggressive wrist stretching is not necessary for this routine. Do not push a joint into position. If movement causes pain or symptoms, stop and seek appropriate guidance.
Can wrist tension make piano notes sound harsh or uneven?
It can contribute, especially when the child holds pressure after the key goes down or uses the whole arm rigidly. But uneven sound can also come from rhythm, finger coordination, or the musical task. Compare an easy note with the difficult passage before deciding on the cause.
Technique and safety references: Yamaha Music, “Fix It: Tips for Teaching Basic Piano Technique”; American Academy of Pediatrics, “Tips to Prevent Sports Injuries in Children & Teens”; and HealthyChildren.org arm-pain symptom guidance.